Ultimate Blueprint Generator Documentation
Ultimate Blueprint Generator - The most flexible AI Co-Pilot for Unreal Engine 5
Thank you for your interest in Ultimate Blueprint Generator - The AI-Copilot for Unreal Engine. Have questions? Check out our Frequently Asked Questions (FAQ)
Welcome to the next evolution of the Ultimate Blueprint Generator. This guide will walk you through setting up the plugin.
Make sure to get the support role over on Discord to get access to Exclusive Resources and Valuable Information in regards to AI Development in Unreal. This is a Premium select community and all you have to do to join is to get your purchase verified. See you on the other side!
There are 3 ways of using the plugin for now. This is the most flexible Co-Pilot for Unreal Engine.
As of 26th January 2026 I added support for Local LLMs and also I’ve integrated the plugin completely inside the Unreal Editor. We don’t have to use the plugin with third party desktop apps like Claude Desktop unless we prefer those.
I have fundamentally reimagined what a development assistant can be. This is no longer just a generator. It has transcended its original purpose to become a true, Engine-Wide AI Co-Pilot. It’s a conversational partner with a deep, contextual understanding of your entire project, from the Content Browser to the level viewport to the deepest corners of your Blueprint graphs.
This is not an iteration. This is the next evolution.
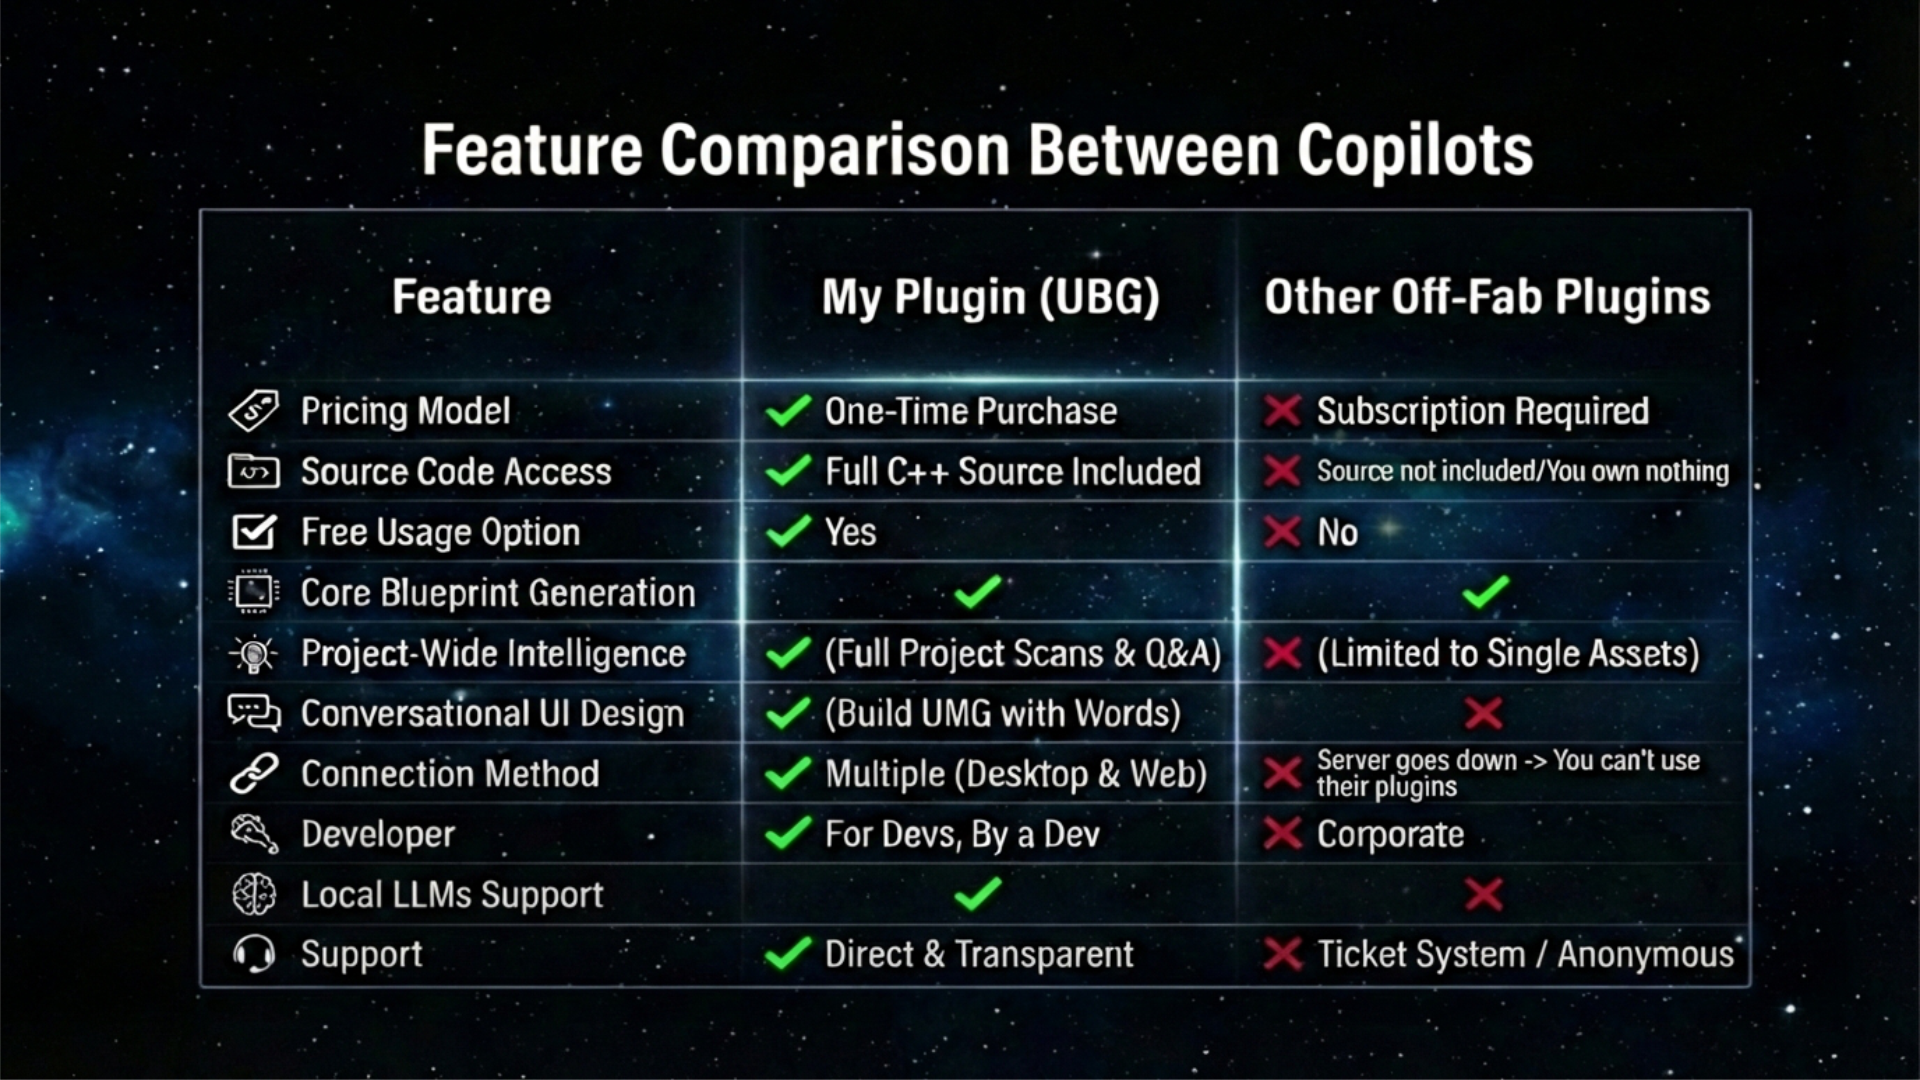
!! This is the best value for money you’ll get when it comes to AI Co-Pilots in Unreal !! These other off-FAB plugins can’t compete with the stuff I packaged in this Co-Pilot.
For questions/support I encourage you to join the Discord Server. (the link works fine, make sure your browser isn’t blocking the pop-up or anything)
Version 0.3.5 is live as of 26th January 2026. —> Video Overview
Key Features at a Glance
This is a high-level summary of the plugin’s core capabilities. For a more detailed list of currently available features you can have a look at the extended features list.
Feature Summary (At a Glance)
This is a high-level overview of the core functionalities.
- Universal Asset Architecture & Analysis: Generate, modify, refactor, and get detailed explanations for Blueprints, Materials, Behavior Trees, Animation Blueprints, and Widget Blueprints. Export any summary to disk for documentation.
- Project & Asset Management: Create new assets on the fly, including Structs, Enums, Blueprints, and folders, directly from a prompt.
- Real-Time Scene Direction: Spawn, select, and manipulate actors directly in the level viewport with conversational commands. (Experimental)
- Conversational UI Design: Design and prototype entire UMG layouts, create individual widgets, and modify their properties using natural language. (Experimental)
- Project-Wide Intelligence: Scan your entire project (Blueprints, Materials, etc.) to find performance hotspots and ask contextual questions about your codebase.
- External C++ Analysis: Read and write to external C++ source files (.cpp/.h) to analyze or modify external codebases.
How to get started with the plugin
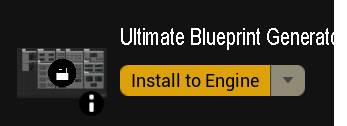
Once you acquired the plugin you simply need to open up the Epic Games Launcher, access your Unreal Engine Library, look up for this plugin and install it to the engine.
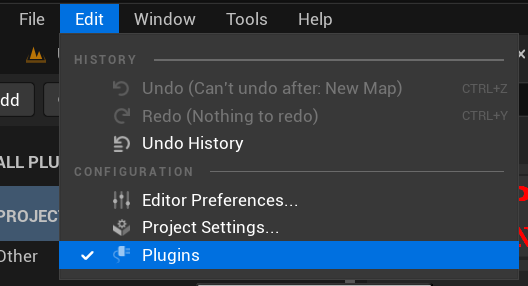
Open up Unreal Engine and access the Plugins tab.
Enable the BP Generator and make sure these other plugins are enabled and restart the editor.
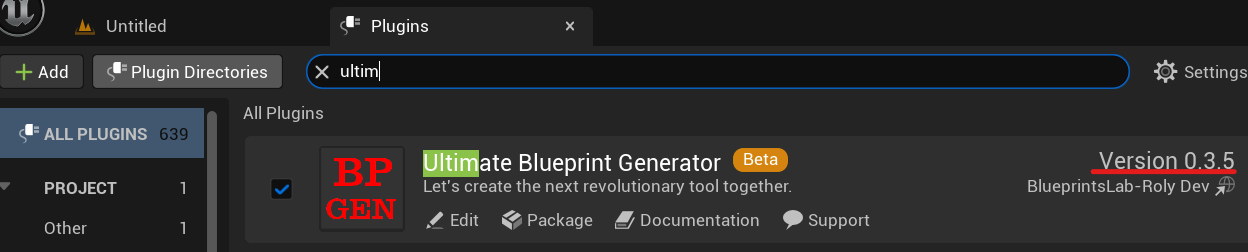
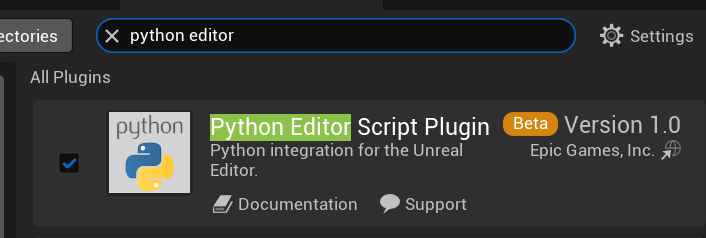
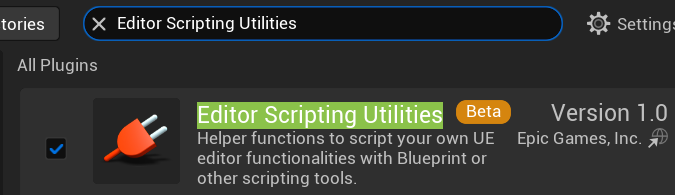
Restart the Editor.

That’s it, you can use the plugin right away but continue to read the following details:
The plugin by default has ~100k tokens free usage through an API key I’ve added. Once those ~100k tokens run out you’ll have to bring your own api key. You can use pretty much any provider and also you can connect the plugin to a local LLM if your machine is powerful enough.
Gemini offers a free api key. More details about Api Keys in the API KEYS section.
Use your own API key
Version 0.3.5 released on 26th January fully integrates the plugin within the Unreal Editor without the need of using third party apps and connections like Claude Desktop, Cursor or connecting the plugin with the browser extension to DeepSeek.
The plugin can still be used as usual through Claude Desktop and other desktop apps like Cursor, Github Copilot, Google Antigravity etc. AND Local LLMs (with the 0.3.5 version).
GOOGLE GEMINI API KEY SETUP (free and recommended)
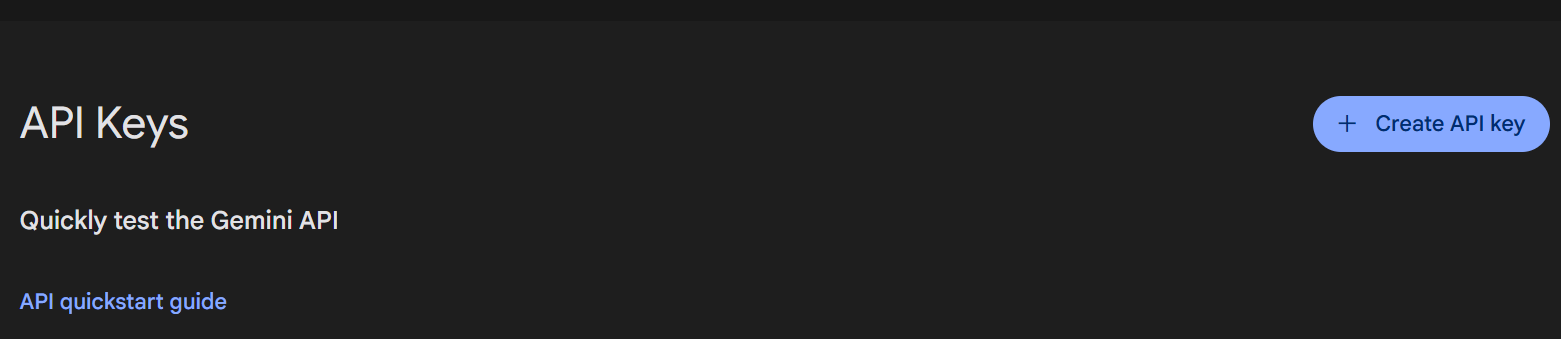
Head over to the Google Studio website so we can create a new API key.
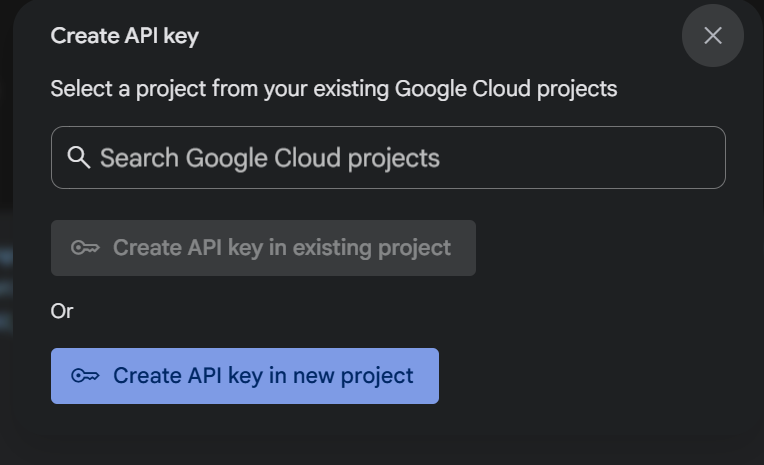
Tap on the Create API key button.
Second option if you have no project created in google cloud already.
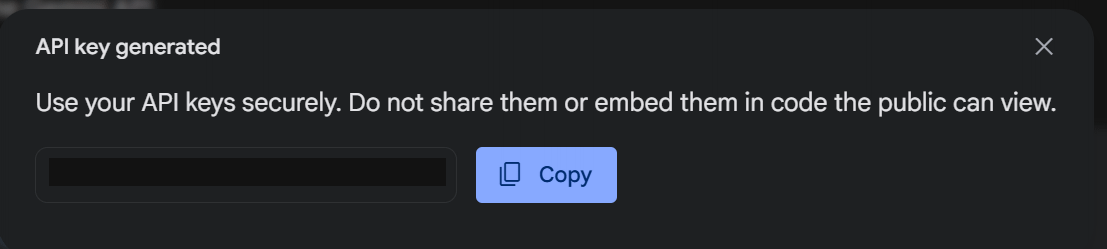
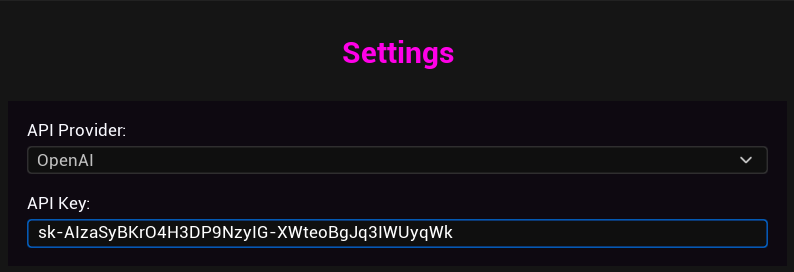
Copy the generated key and open back up your Unreal Engine project.
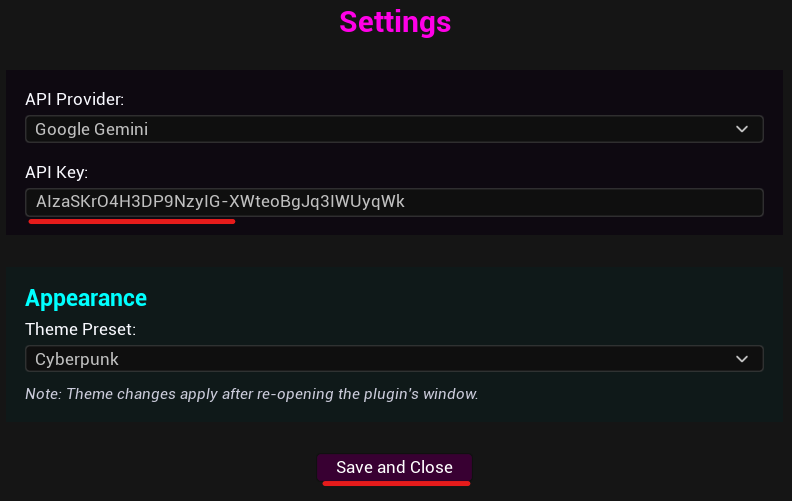
Add the key and Save.
OPEN AI API KEY SETUP (chatgpt)
While I recommend Gemini, OpenAI is a viable choice as well.

Head over to https://platform.openai.com/usage.
After logging in, tap on the Edit Budget text inside the Usage tab.
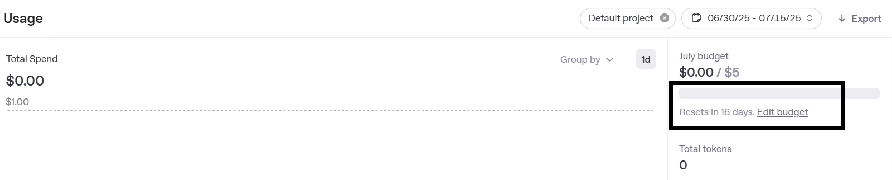
From the new window that has opened up, look for the Billing section.
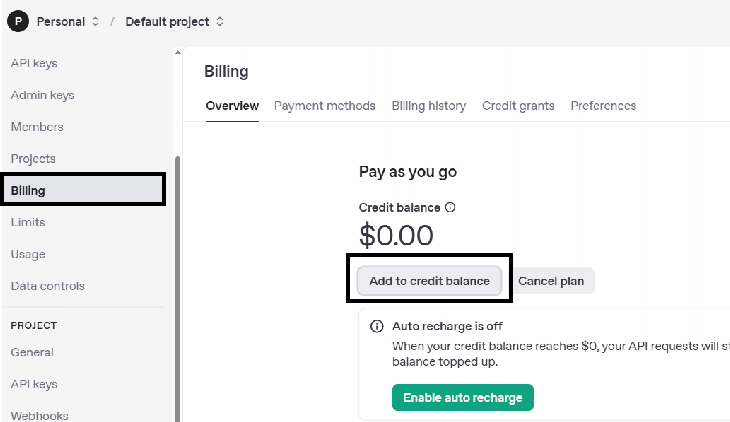
Select Add to credit balance and you can go for the 5$ minimum credit. Once you add balance credit you can access the API keys section and create a new key.

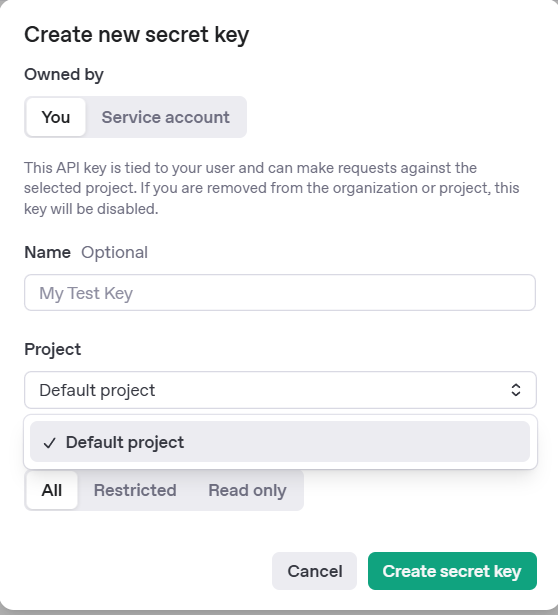
Copy the generated key and head over to your Unreal Engine project.
Claude, DeepSeek API KEY works the same as OpenAi - you need to top up some credits on their website for the API key to work or you can have a valid subscription to them and you should be able to get a key.
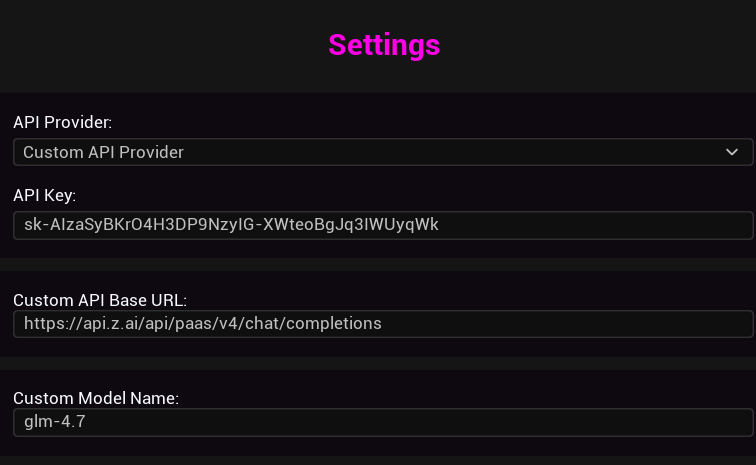
Custom API KEY Provider
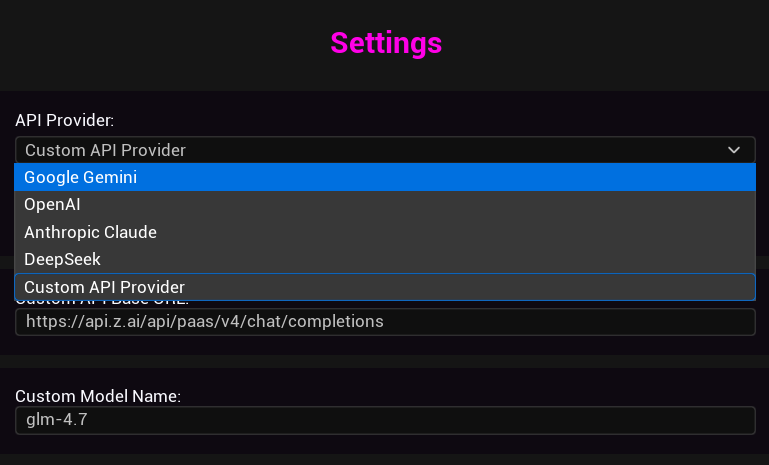
Using Local LLMs - Ollama & LM Studio
Ultimate Blueprint Generator supports local, OpenAI-compatible servers like Ollama and LM Studio. This allows for offline use, enhanced privacy, and no API costs.
IMPORTANT: The Endpoint URL
Your endpoint MUST end with /v1/chat/completions for the plugin to work correctly.
Do NOT use paths like /chat, /generate, or just the base URL. These will not work.
Ollama Setup
Step 1: Install & Run Ollama
- Download from ollama.ai and install
- Pull a model:
ollama pull llama3.2 - Run the model:
ollama run llama3.2 - Ollama automatically starts its API server in the background
Step 2: Configure in Plugin
In the plugin’s API Settings:
- Provider: Select
Custom API Provider - API Endpoint URL:
http://localhost:11434/v1/chat/completions - Model Name: In the main Blueprint Generator view, enter your model (e.g.,
llama3.2)
LM Studio Setup
Step 1: Start the Server
- Open LM Studio and go to the Local Server tab (
</>icon) - Select a model from the dropdown to load it
- Click the Start Server button
Step 2: Configure in Plugin
In the plugin’s API Settings:
- Provider: Select
Custom API Provider - API Endpoint URL:
http://localhost:1234/v1/chat/completions - Model Name: In the main view, enter the exact model name shown in LM Studio’s dropdown
Troubleshooting
Connection issues?
- Make sure your local server is actually running before sending requests
- Verify the URL ends with
/v1/chat/completions(NOT/chator/generate) - Check that the port matches (Ollama: 11434, LM Studio: 1234 by default)
- For networked machines, replace
localhostwith the IP (e.g.,http://192.168.1.50:11434/v1/chat/completions) - Check your firewall isn’t blocking the connection
Why /v1/chat/completions?
The plugin uses the OpenAI API format, which is the standard for local LLM servers. The /v1/chat/completions endpoint provides structured JSON responses that the plugin can parse correctly. Other endpoints like /chat or /generate use different formats and will not work.
Tested Local Models
- Ollama minimax m2
First-Time Python Setup (Ignore the following steps if you use the plugin from within the Unreal Editor. These steps are for those that want to use the plugin with Desktop Apps.)
The new MCP integration uses a small Python server to communicate between the AI client and Unreal Engine. This requires a one-time setup on your machine to ensure Python is installed and has the necessary library.
Install Python
You must have Python installed on your system. Install version 3.13. Don’t install the 3.14 version.
Make sure you don’t have multiple Python versions installed!
To see if it’s already installed, run this command in a terminal:
python --version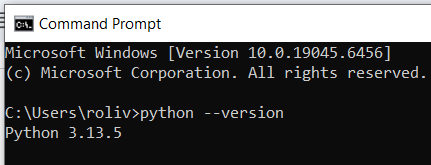
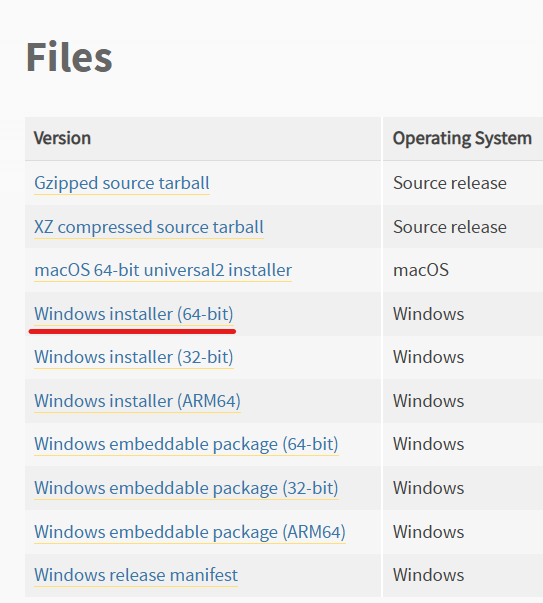
Download the official installer from the Python website if no python is installed: https://www.python.org/downloads/release/python-31311/
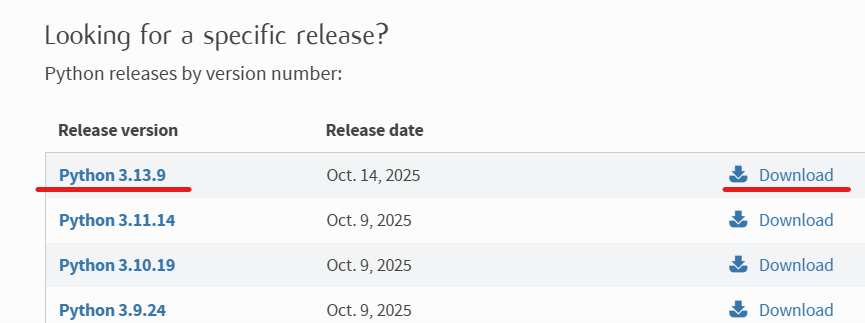
Depending on your operating system (Windows or MAC) download the installer.
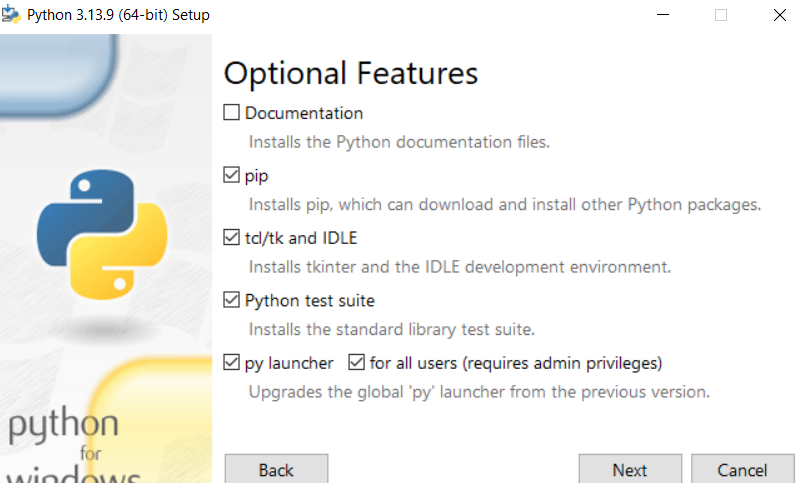
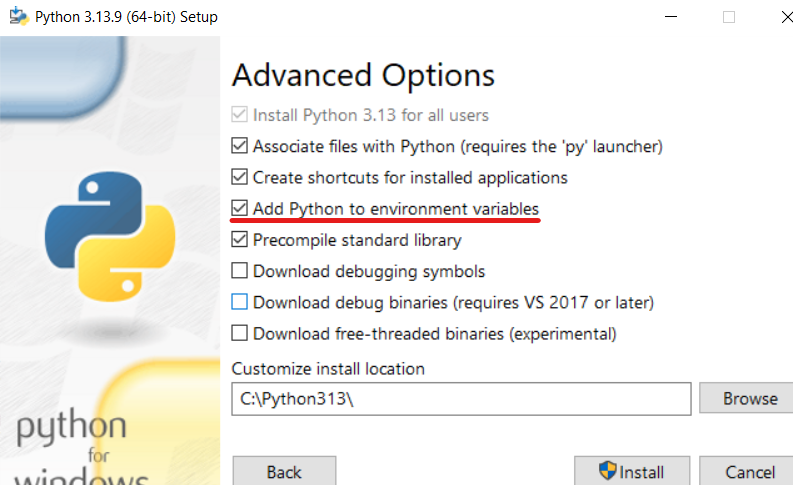
CRITICAL: During installation, make sure to check the box that says “Add python.exe to PATH”. This is essential for the command line to find Python.
Install and restart your PC.
After Restarting you need to open a command prompt(windows) or a terminal on MAC. You can do this by searching in the search box.


In the command prompt run this command to make sure python is installed:
Once confirmed it’s installed correctly, we need to run this command: (DON’T SKIP) !!!!!
pip install mcp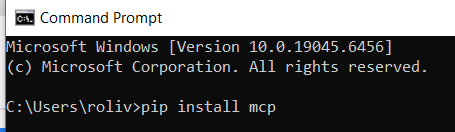
Or if that didn’t work, try this command instead:
python -m pip install mcp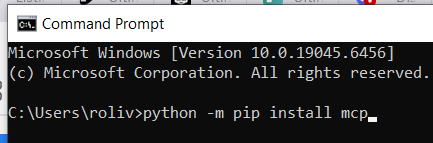
That’s it now we can proceed installing Claude Desktop to establish the connection between it and Unreal Engine.
Connect the Plugin to Third Party Desktop Apps
So far users connected the plugin to a multitude of apps like Cursor, Claude Desktop, Claude Code, Google Antigravity, Github Copilot and a few more.
It’s entirely up to you whichever setup you decide to go for, API Key, Local LLM or Desktop App. Whatever the Desktop Apps are doing with their agentic execution of prompts, the API key setup can do it too.
Claude Desktop Setup
Download and install it from their Website: https://claude.ai/download
Once installed, run it and look for Settings:
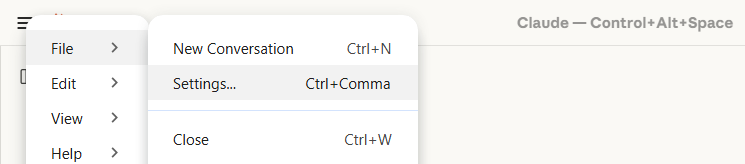
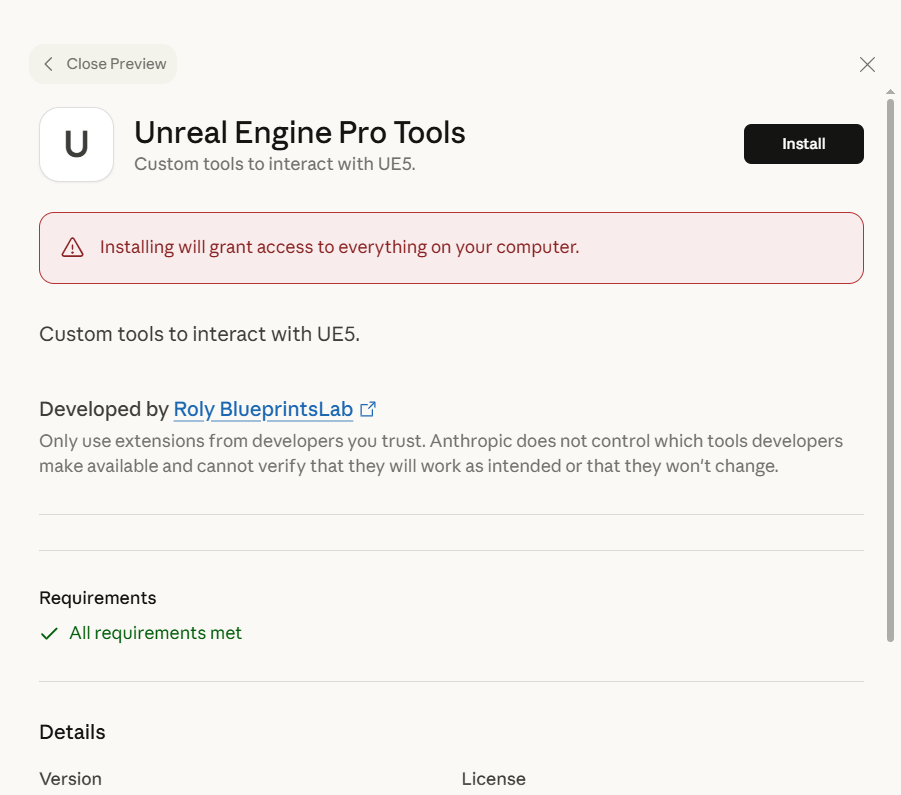
In settings go to Extensions → Advanced Settings
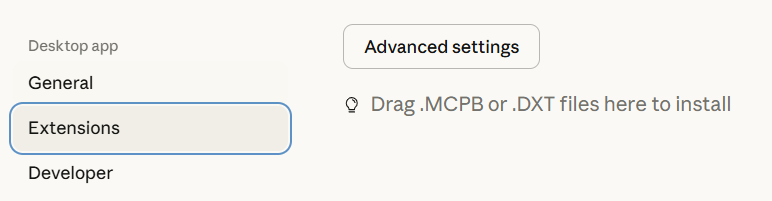
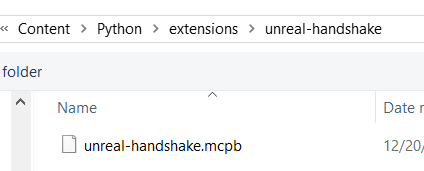
Install Extension:
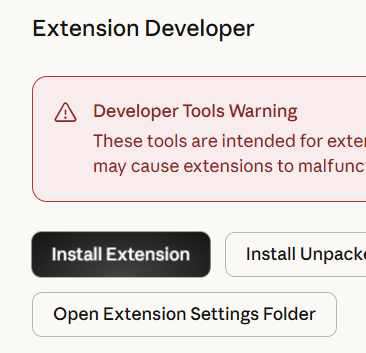
And go wherever the new version of the plugin is installed on your computer. (example: C:/Program Files/Epic Games/UE_5.7/Engine/Plugins/Marketplace/Ultimate3867945fbc2aV39/Content/Python/Extensions). And add them 1 by 1:

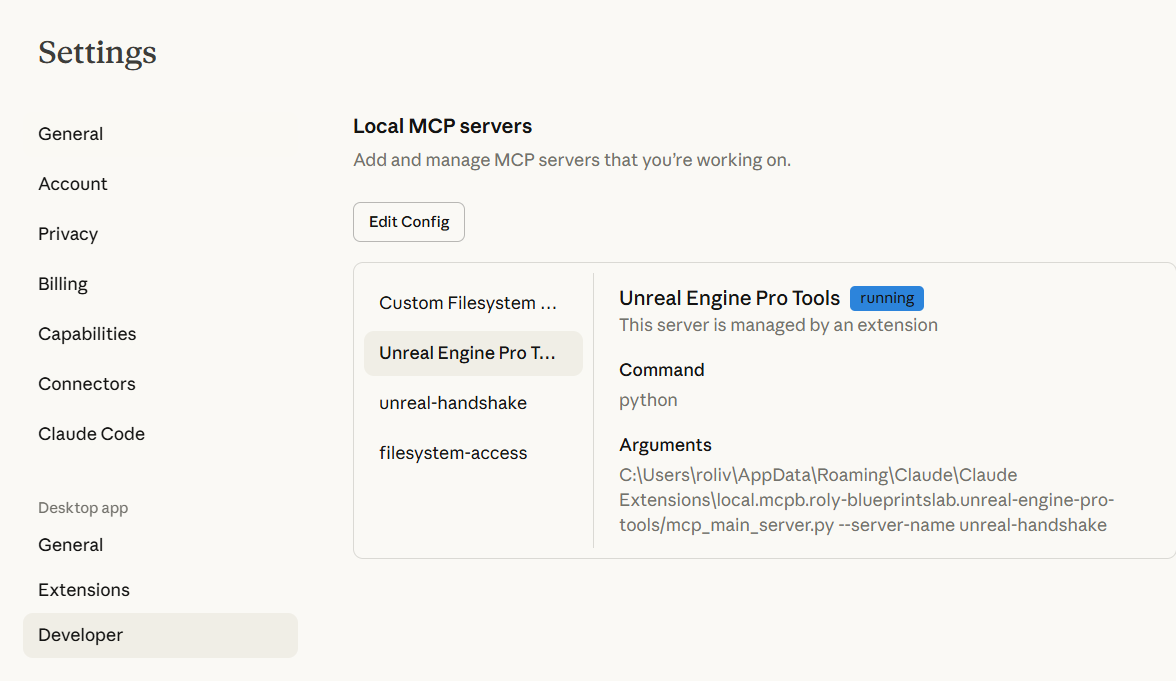
Once installed both you should see them running in the Developer tab.
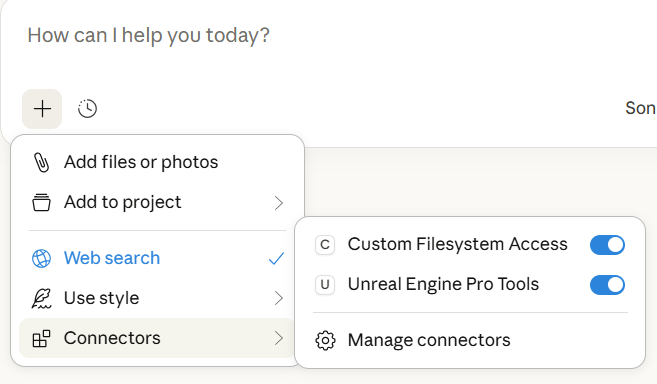
Prime Claude by saying “how to use the connected tools?”
For other Desktop Apps with MCP capabilities
This is the default MCP config file but you need to change the path to point to wherever Epic installed the plugin:
{
  "mcpServers": {
    "unreal-handshake": {
      "command": "python",
      "args": [
        "C:/Program Files/Epic Games/UE_5.7/Engine/Plugins/Marketplace/Ultimate3867945fbc2aV39/Content/Python/mcp_main_server.py",
        "--server-name",
        "unreal-handshake"
      ],
      "env": {
        "UNREAL_HOST": "localhost",
        "UNREAL_PORT": "9877"
      }
    },
    "filesystem-access": {
      "command": "python",
      "args": [
        "C:/Program Files/Epic Games/UE_5.7/Engine/Plugins/Marketplace/Ultimate3867945fbc2aV39/Content/Python/mcp_main_server.py",
        "--server-name",
        "filesystem-access"
      ]
    }
  }
}
!! THE path you’ll copy has \ slashes instead of / slashes. Make sure to replace the \ with / !!
If you encounter difficulties make sure to consult an AI and it will be able to guide you further setting your app of choice.
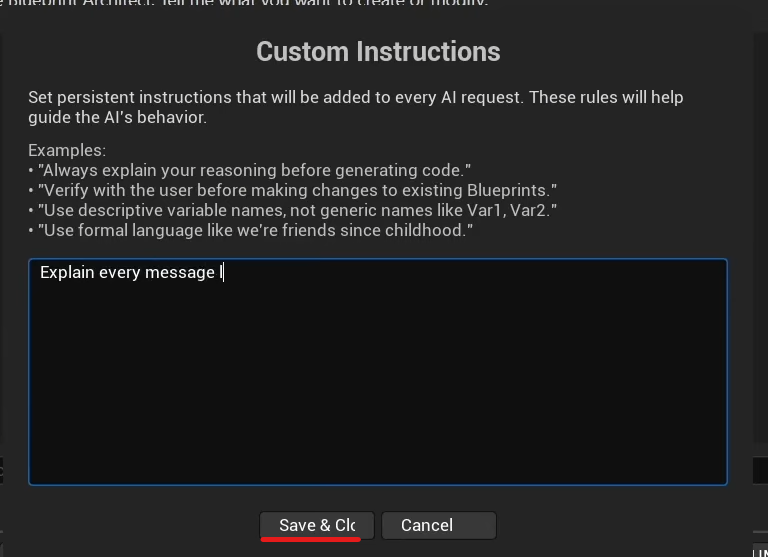
Custom Instructions - Tell the AI how to Behave
You can customize the AI’s behavior by adding custom instructions that will be sent with each request.
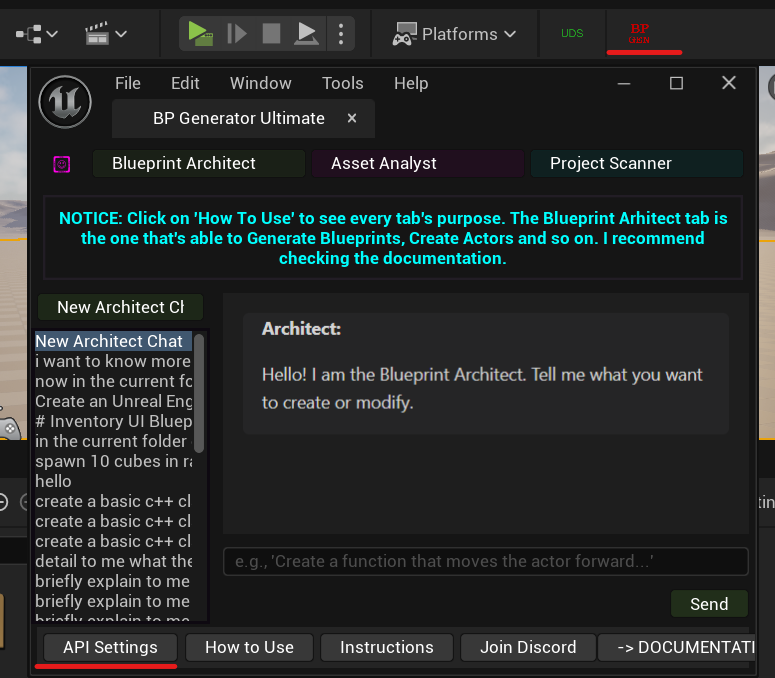
Accessing Custom Instructions
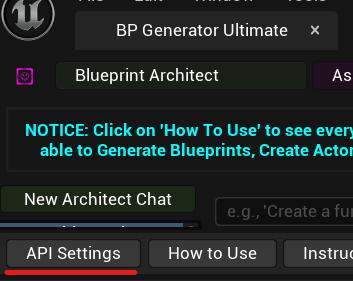
Tap on the “Instructions” button inside the Plugin’s interface in the Unreal Editor.

Adding Your Instructions
In the newly opened tab, you’ll be able to append your custom instructions. These instructions are sent with every request to the AI, allowing you to modify the AI’s behavior to suit your specific needs.
Much more customization options will be added in future updates.
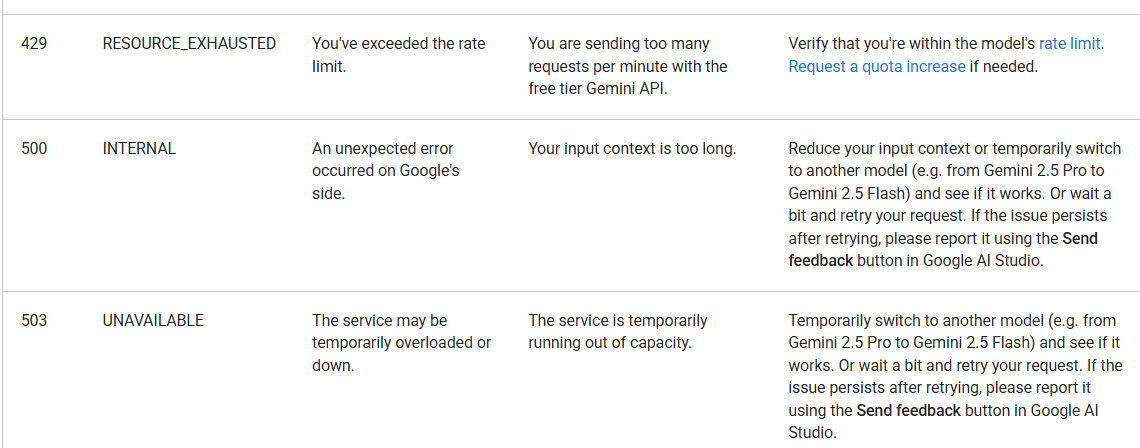
Gemini API Error Codes
If you’re using the free Gemini API key, you may encounter certain error codes due to rate limiting.
Common Error Codes
You can check the official error codes documentation here: Gemini API Troubleshooting
Dealing with Rate Limits (Error 429)
If you encounter a 429 (Rate Limit) error:
- Create multiple free API keys using different Google accounts
- In a future update, an easy way to swap between API keys will be added
- Combine Gemini’s free tier with Claude Desktop’s free tier to minimize limitations
- Consider using a Local LLM for offline use without API costs
For more details or help, join the Discord Server.
Need Help?
If you encounter any issues:
- Join our Discord Server for support
- Check the Extended Features List for all capabilities
- Review the Plugin Update Guide for update instructions
Last Updated: January 2026